
Having a new website and knowing how to update it can be a challenge to master, so let my guide below help you…
Log into your website’s Dashboard as normal hover over the top left corner. Click on Visit Site.
Navigate to the Testimonials Page. Once there, click on Edit Page on the black bar at the top.
Once in, scroll down to the Divi Builder. These houses all of your Testimonials.

The grey boxes are laid out as one the finished Page. The blue ‘row’ section represents the Page on this case. The Testimonials as laid out into rows which have been split into differing columns to get the layout required.
To swap out a Testimonial for another (you should have this written out onto a Word document). Click on the Grey boxes’ “Hamburger Menu” (which is the 3 lines) and use the edit functions from there.

Overwrite fields such as Author Name / Job Title / Company Name where relevant. As you scroll down you will see a text editor. This looks like a MS Word screen and is used in much the same way.
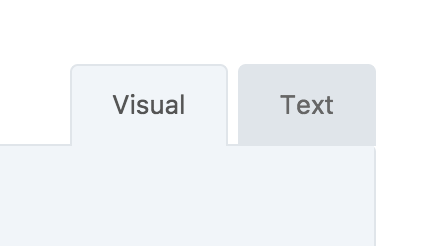
Click on the Text button just above here and to the right, and Paste your Testimonial text in from your (actual) Word document.
Click on Save & Exit to save your work.

Adding a (Duplicate) Testimonial Row
If you have a lot of testimonials you may want to create a new row to house 2 or 3 of them. This is especially useful if you don’t want to replce any old ones.
All you need to do to this (and on the same Edit Page) is click on the clone Row button on the Row that you want to clone.

You can then move this row to it’s desired place by hovering over any of the white sections (on the row you’ve just cloned) where the cursor will turn to a cross, use this to drag the Row to it’s desired place. Keeping the formation on the page, in this case 3 column, 2 column and so on.

All Testimonial Modules (Grey boxes) have Admin Labels, so if you feel you will get mixed up you can always add a Label to each one.
You can easily check on your changes after you have made them to make sure that they look OK by using the Preview button (which is top right of the screen). This opens in another window. Change Tabs to work on your page again.

After you have finished all changes to your page, please click on Update on the right hand side at the top, which will Update all changes live to the Internet.

If you like what you have read, or are abit confused, or now need some tea and cake – Then get in touch! Use the Contact Me form on this website and I’ll get right back to you!